
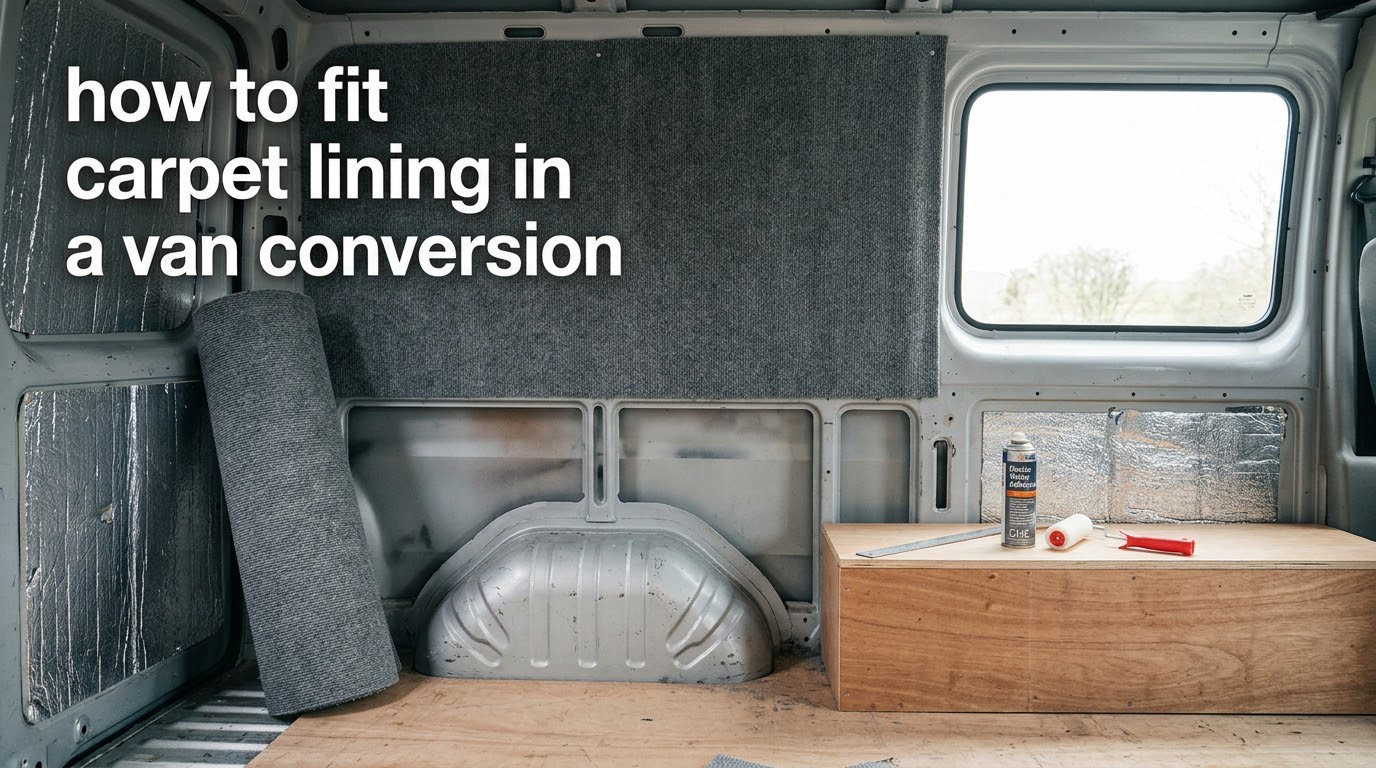
Fitting carpet lining is the step that turns a bare metal shell into a space you can actually sleep in. In short: prepare the surface, cut the carpet oversized, spray both surfaces, wait for tack, stretch from the centre outwards, then trim and finish the edges. This guide walks the whole sequence, including the moisture problems that cause builds to fail.
Most guides stop at the adhesive stage. Builders on r/vandwellers and r/VanLifeUK talk about the same handful of regrets for years: running out of spray adhesive mid-build, condensation and mould appearing behind the lining, and panels popping loose at the slightest tension. Those are the things worth planning for before you cut a single metre.
Table of Contents
- How to Fit Carpet Lining in a Van Conversion: The Core Sequence
- Tools and Materials for a Carpet Lining Job
- Preparing the Surface Before Any Adhesive Goes Near It
- How to Ply Line Your Van Before Carpeting
- Applying the Carpet: Adhesive, Tack Time and Stretching
- Trimming and Finishing Edges, Overlaps and Curves
- Condensation, Mould and the Cavity Behind Your Lining
- Common Carpet Lining Mistakes and How to Fix Them
- Carpet vs Plywood vs Timber Cladding vs Hybrid
- How Much Carpet, Adhesive and Time a Full Fit Needs
- Areas You Should Never Carpet
- Getting Back Behind the Carpet Later
- Where Carpeting Fits in the Conversion Build Order
- Frequently Asked Questions
- How to apply 4 way stretch carpet?
- How to apply van lining carpet?
- How to ply line your van?
- What thickness plywood for van lining?
- What screws to use for ply lining a van?
- What is the best carpet for van lining?
- How thick is van carpet lining?
- How much does it cost to carpet line a van?
- How long does it take to carpet line a van?
- Does carpet padding need to be stapled down?
- Wrapping Up
How to Fit Carpet Lining in a Van Conversion: The Core Sequence
Here is the whole process in six moves, and it is the same whether you are carpeting bare metal or a plywood lining.
- Prepare the surface. Degrease, treat rust, and confirm insulation and vapour barrier are already installed and dry.
- Dry-fit and cut oversized. Leave 100mm or more of extra material around every opening so you have something to stretch and trim.
- Spray both surfaces. Adhesive goes on the panel and on the carpet backing, not on one and hoped for.
- Wait for tack. Follow the can’s instructions – typically 30 to 60 seconds until the adhesive is tacky, not wet.
- Stretch from the centre outwards. Work in small sections, pushing air out toward the edges as you go.
- Trim and finish. Cut the excess away once it is bonded, then hide the edges under battens, corner trim or folded panel edges.
Total time for a short wheelbase van is a weekend for a first-timer working alone, and closer to a long weekend once window recesses, wheel arches and the sliding door are involved.
Tools and Materials for a Carpet Lining Job
Here is the full list. Getting the adhesive quantity right before you start saves the single most common mid-build crisis.
Fixing and fitting
- 4-way stretch carpet (or standard automotive carpet if the geometry is simple)
- High-temperature spray adhesive – a contact adhesive rated for hot panels
- Stretcher or carpet knee kicker, plus a plastic hand roller
- Sharp utility knife with plenty of spare blades
- Metal straight edge or long ruler for cutting
- Masking tape and a pencil for marking
- Staple gun and staples if you are fixing any carpet edges mechanically
- Battens, corner trim and rivnuts or self-tapping screws for edge retention
Safety
- Nitrile gloves
- Respirator rated for spray adhesive
- Safety glasses and ear defenders when cutting or stapling
- Ventilation – the same adhesive fumes that soften a panel will affect you
Adhesive quantity. Budget roughly one 750ml can per 4 to 5 metres of lined surface for a standard coverage, and buy one more than you calculated. Under-buying spray adhesive is the most-cited over-run in conversion threads. Spray outdoors where you can, which also avoids bringing overspray into the van.
Preparing the Surface Before Any Adhesive Goes Near It
Bonding is a chemical process, and it only works on clean, dry, grease-free surfaces. Everything you skip here shows up as a bubble or a lifted corner two years later.
- Degrease. Wipe every panel with a degreaser, then again with a clean cloth. Road film, wax and hand oil stop contact adhesive from gripping.
- Strip and treat rust. Remove any loose paint or surface rust, treat what remains, and let it cure fully. Rust under carpet is a slow-motion leak.
- Sound deadening. Apply sound deadening mat to bare metal panels before anything else. Carpet dampens high-frequency noise; it does nothing for drumming on hollow steel.
- Insulate. Fit your insulation and, in most builds, a foil-backed bubble foil or equivalent vapour barrier. Builders on AirgunForums stress that the cavity behind a ply lining will sweat if you plan to cook or heat inside the van.
- Check for leaks. Pressure-test or hose-test the shell and let the cavities dry fully before covering anything.
- Leave service access. Mark where your electrics, gas bottles, water tank and heater access points sit before they disappear.
Tip: Vacuum between steps. A fine dust of aluminium and rust particles under carpet is exactly what turns a bonding job into a permanent one, in the wrong direction.
How to Ply Line Your Van Before Carpeting
Plywood gives you a flat, replaceable, fixable surface and gives the carpet something to bite into. Skipping it and carpeting bare metal is lighter and faster, but you lose rivnut fixing points and any chance of getting back to bare metal later.
- Measure each panel separately and cut slightly oversize, leaving the fit tolerance to the wall rather than the sheet.
- Pre-finish both faces. Seal the back of the ply before it goes in. Once the carpet is on you cannot get to it again.
- Fit the plywood onto battens (furring strips) or adhesive and screws, so there is a ventilated gap behind it rather than sheet against steel.
- Leave a service panel unscrewed at every access point – cable routes, tank filler, heater inlet.
- Plug the screw heads with cover caps and a dab of flexible sealant, which also kills squeaks when the van flexes.
For thickness, 3mm ply suits flat panels where weight matters most, 7mm is the common all-rounder, and 9mm gives a noticeably more solid feel on doors and wall panels. Full 4×8 sheets are not van-friendly – buy narrow marine ply or birch ply in van-width cuts.
Fixings. Use self-tapping screws into battens and steel, and rivnuts where you need a reusable fixing point for later. Standard drywall screws will not hold in a moving van.
Applying the Carpet: Adhesive, Tack Time and Stretching
This is where most first attempts go wrong. Contact adhesive grabs instantly and permanently, so a small error at the start becomes a large one thirty seconds later.
Adhesive technique
- Work in sections no larger than you can comfortably handle – roughly one panel or one recess at a time.
- Shake the can properly and hold it about 200mm from the surface, spraying in a sweeping motion.
- Coat the panel and the carpet backing evenly. Single-surface bonding gives you a weak, uneven result.
- Respect the can’s dry time, then apply when the adhesive is tacky to a light touch. Wet adhesive and you will have bubbles; over-dry and you will have nothing to bond to.
- Lay the carpet down in one motion, then stretch – do not drop it and then tug it sideways.
Stretching technique
Work from the centre of the panel outwards toward the edges. Push the air out with a roller or your knee kicker rather than pulling hard in one direction, which stretches the pile and leaves a permanent slack area.
Wheel arches. This is the hardest geometry in the build. Cut a relief section over the arch, bond the arch sections first, then bring the flat wall sections down over the top so the stretch runs through the arch. Expect to waste one attempt here on any van.
Window recesses and reveals. Cut the carpet slightly larger than the aperture, wrap the excess into the recess and bond it to the return face. Fold the corners with a small crease rather than cutting them square – square corners crack and lift.
Sliding door tracks and curves. Never bridge the track. Cut around the channel, bond the two sections separately, then run a trim strip over the seam. This is also the area where 4-way stretch carpet earns its keep, because it pulls tight around compound curves without needing a seam.
Ceiling. Work in short bays with a helper. Ceilings fail more often than walls because of unsupported span, so plan mid-bay support battens if your van is long.
Trimming and Finishing Edges, Overlaps and Curves
Cut only after the carpet is fully bonded and settled. Trimming early means cutting a stretched surface, and it relaxes.
- Use masking tape along your cut line and score the tape first, which stops fraying and keeps a straight line on pile.
- Cut with a sharp blade held at a shallow angle, replacing the blade often. A blunt blade drags and crushes the pile.
- Fold the raw edge into a panel edge, a recess return, or around a batten – a folded and stapled edge outlasts a raw cut edge every time.
- Use corner trim or a slim aluminium profile on external corners and on the door card edges, which are the first places to show wear.
- Where two carpet sections meet, overlap by at least 50mm and cover the seam with a trim strip rather than butting them edge to edge.
Tip: Carpet is easy to nick along a raw edge, and nicks travel. Take your time on the trimming pass – it is the slowest part of the job and the part that everyone sees.
Condensation, Mould and the Cavity Behind Your Lining
This is the part that decides whether your build lasts ten years or two. r/vandwellers threads are full of builders who found black mould behind a lining that looked perfect from the inside.
Why it happens. Warm, moisture-laden air from cooking, breathing and heating meets cold metal or cold insulation inside the cavity. Water vapour condenses on the cold surface. If the cavity cannot dry out, you get mould, and the carpet face traps the smell permanently.
What actually helps:
- Leave low drainage holes at the bottom of each panel and cavity, roughly 5mm, and keep them open after lining. Easy to forget, easy to seal shut by accident.
- Ventilate the cavity. Where you are using battens, the gap is a ventilation path as much as a sound improvement.
- Fit a vapour barrier on the warm side of the insulation. Guides disagree about this in a moving vehicle, and the practical answer is that it reduces the amount of vapour reaching the cold surface in the first place.
- Let insulation and cavities dry out completely before covering them, and never line a damp van.
- Ventilate the living space, especially after cooking. A small roof vent or cracking a window moves more water out than any amount of lining work.
- Never carpet a surface that still sweats – a kitchen splashback area or a wheel arch face exposed to road spray.
Weight matters here too. Builders on r/VanLifeUK increasingly skip timber lining purely to protect payload and fuel economy, which is a reasonable trade if the cavity is still ventilated and drained.
Common Carpet Lining Mistakes and How to Fix Them
| Symptom | Likely cause | Fix |
|---|---|---|
| Bubbles or ripples that reappear | Carpet bonded with wet adhesive, or stretched and released | Lift the section, clean both surfaces, recoat, and restretch from the centre outwards |
| Carpet lifting along a rib or wheel arch | Not enough stretch, or a cut that was too tight | Trim back to sound adhesive, inject fresh adhesive underneath, press and re-stretch |
| Staples visible and carpet cupping near them | Staples set at an angle and pierced the pile; van flex on the road | Replace with staples driven straight and fully seated, then re-stretch and cover with trim |
| Panel popping off at the slightest tension | Over-tightened carpet pulling against its fixing points | Release tension back to a relaxed, wrinkle-free fit and use extra battens or adhesive at the edges |
| Carpet shrinking or curling at the edge | Low-quality carpet, or adhesive not fully cured | Trim the curled edge back to sound bond and re-finish; leave a full week before load-carrying |
| Mould behind a panel that looked fine | Sealed cavity with no drainage | Strip the panel, dry everything fully, cut drainage holes, and re-line |
| Adhesive ran out mid-build | Underestimated coverage | Plan one spare can per van length, and always spray in a ventilated or outdoor space |
Carpet vs Plywood vs Timber Cladding vs Hybrid
No text competitor sets out this comparison properly, so here it is in full. The honest answer is that the hybrid approach wins more often than any single finish.
| Option | Weight | Re-access | Best used for |
|---|---|---|---|
| Carpet on bare metal | Lowest | Difficult | Weight-critical builds, simple geometry |
| Carpet on plywood over battens | Moderate | Good – remove panels | The standard all-round finish |
| Full timber cladding | Highest | Poor once fixed | Visible interior panels, camper conversions |
| Hybrid – carpet on curves, cladding on flats | Moderate to high | Variable | Sliding door, wheel arches, upper walls |
Carpet is warm, quiet and forgiving. Cladding is durable, wipeable and looks deliberate, but adds weight and takes far longer. The hybrid combines them: carpet handles compound geometry such as arches and recesses, cladding handles the flat, high-contact panels a child or a wet coat will hit.
How Much Carpet, Adhesive and Time a Full Fit Needs
Carpet. Measure every surface and add 10% for waste. A short-wheelbase van typically consumes 25 to 35 linear metres for a full walls-and-ceiling fit; a long-wheelbase or LWB high-roof conversion runs closer to 45 to 55 linear metres. Buy one continuous roll where you can – pieced seams show.
Adhesive. Coverage varies with the product, so read the can. As a working figure, one 750ml can covers roughly 4 to 5 metres of surface at standard coverage, and a full short-wheelbase build runs to six or seven cans including waste and touch-ins. Buy eight.
Time. Preparation takes a weekend on its own if you are doing insulation at the same time. The carpet fit itself is a long weekend for a first-timer, and a solid weekend for someone who has done it before. Allow an extra day if the van needs window recesses, wheel arches and a sliding door.
Cost drivers. Carpet and plywood are the visible line items. The costs that surprise people are adhesive quantity, trim and profile, extra battens, and time – most builds are quoted in days rather than hours.
Areas You Should Never Carpet
Some surfaces defeat carpet entirely, and forcing it there is how builds end up with a permanently stained or rotting panel.
- Kitchen splashback and cooking zones. Oil and steam soak into the pile and do not come out. Use ply, a wipeable panel or a tiled off area.
- Wheel arch outer faces and lower load bay corners. Road spray, salt and grit sit there permanently. Carpet them and you will cut them out within a couple of seasons.
- Wet areas and any zone you cannot dry. Carpet plus a sealed cavity plus trapped moisture equals mould.
- Around service panels and access hatches. Carpet is fine; carpet glued permanently over a hatch is a problem the first time you need the hatch.
The hybrid approach solves most of these – carpet for warmth and quiet, cladding for wear, and a hard-wearing off area behind the kitchen unit.
Getting Back Behind the Carpet Later
Decide this before you bond anything, because after the adhesive cures it is a deliberate job.
- Install rivnuts rather than glue-only fixings so you have reusable thread.
- Leave a deliberate access panel over cable routes, the water tank, the heater inlet and the gas locker – screwed, not glued, and edge-trimmed so it looks intentional.
- Keep a spare piece of your carpet and adhesive, plus a matching batch of trim, for patching. Offcuts from the original fit will fade and wear differently from the installed surface.
- Photograph every cable route and fixing point before you cover it. Every builder says the same thing: nobody remembers what went behind panel three.
Removability also matters at resale, and in the UK it matters at inspection – covering or obstructing certain service points and seat belt fixings can create a problem. Check what your own build needs before you seal it behind carpet.
Where Carpeting Fits in the Conversion Build Order
Sequence discipline saves more money than any single material choice. Carpeting is close to the end of the build, and the last thing you should do.
- Shell preparation and rust repair.
- Sound deadening and insulation, with the vapour barrier installed where your build needs one.
- Services: electrics first, then gas, water and heating, with tests before anything is closed up.
- Structural lining – plywood, battens and cladding.
- Joinery – lockers, bed bases and boxes.
- Carpet lining last, once heavy items are in and the interior is not generating dust or needing access.
Confirm your electrical rough-in is finished and tested before any wall goes up. Retrofitting cable behind a finished lining is the most expensive mistake available at this stage of a build.
Frequently Asked Questions
How to apply 4 way stretch carpet?
4-way stretch carpet stretches in all four directions, so it pulls tight around wheel arches, recesses and compound curves without seams. Apply high-temperature spray adhesive to both the panel and the carpet backing, wait for the tacky stage specified on the can, then lay the carpet down in one motion. Work outwards from the centre of the section, pushing air toward the edges, and trim the excess only once the bond has set.
How to apply van lining carpet?
Degrease the surface, cut your carpet oversized by at least 100mm all round, and dry-fit it before bonding. Spray both the panel and the carpet backing with high-temperature contact adhesive, wait roughly 30 to 60 seconds until tacky, then lay the carpet down and stretch from the centre outwards. Finish by trimming to the edge and hiding cut edges under battens or corner trim.
How to ply line your van?
Cut ply panels individually and slightly oversize, seal both faces before installation, and fix them onto battens or adhesive and screws so a ventilated gap sits behind them. Leave a screw-on access panel over every service point, then cover the screw heads with plug caps and flexible sealant to stop squeaks. Do not cover anything you have not tested, and confirm your electrical rough-in is finished first.
What thickness plywood for van lining?
3mm is enough for flat panels where weight matters most, 7mm is the usual all-rounder for walls and doors, and 9mm gives a more solid feel on visible interior panels. Buy narrow marine or birch ply in van-width cuts rather than full sheets. Thicker ply is heavy, so weigh it against your payload before stepping up.
What screws to use for ply lining a van?
Use self-tapping screws driven into battens and steel, or rivnuts wherever you want a reusable fixing point for later. Standard drywall screws will not hold in a moving van. Do not rely on screws alone where a van flexes on rough roads – combine them with adhesive and cover the heads with plug caps and sealant.
What is the best carpet for van lining?
For most conversions, 4-way stretch automotive carpet is the best choice because it pulls tight around wheel arches, window recesses and sliding door curves without seams. Standard automotive carpet is fine on flat panels and costs less. A self-adhesive carpet saves masking and spray cans but bonds less reliably in the heat and movement of a working van.
How thick is van carpet lining?
Lining carpet is typically 2mm to 4mm thick, with common automotive grades around 2mm and heavier van-specific grades up to 4mm. Thicker carpet hides panel edges and staples better, but it is stiffer, heavier and harder to stretch into tight recesses. Stretch in 4-way grades is usually thinner precisely so it conforms to curves.
How much does it cost to carpet line a van?
The material cost is dominated by carpet, adhesive and plywood rather than fasteners, and adhesive quantity is the item most people under-budget. The bigger cost driver is labour: a short-wheelbase build is typically a long weekend for a first-timer, plus a full weekend of preparation. Builds with window recesses, wheel arches and a sliding door take noticeably longer to finish.
How long does it take to carpet line a van?
A short-wheelbase van is a long weekend for someone doing it for the first time, and closer to a solid weekend once you have done it before. Wheel arches are the slow point and most people discard one attempt there. Add another half day for window recesses and the sliding door, and a full day or more for preparation if insulation is going in at the same time.
Does carpet padding need to be stapled down?
Most builders skip padding entirely and rely on contact adhesive, because an underlay that is not mechanically fixed will lift and wrinkle as the van flexes. If you do use padding, bond it with the same contact adhesive and staple its perimeter to battens, keeping staples fully seated so they do not pierce the pile. Keep the adhesive coat even or the padding will separate in waves.
Wrapping Up
To fit carpet lining in a van conversion properly, the adhesive and the stretching are only half the job. Preparation decides whether the bond lasts, drainage and ventilation decide whether the cavity behind the lining stays dry, and sequencing decides whether you can still reach your electrics afterwards.
Next steps, in order: measure every surface and add 10%, calculate your adhesive cans and buy spares, complete your insulation and vapour barrier, then fit the carpet in small sections from the centre outwards. If you watch one thing before you start, watch how the wheel arch sections are cut – that is where first-time builds go wrong.