
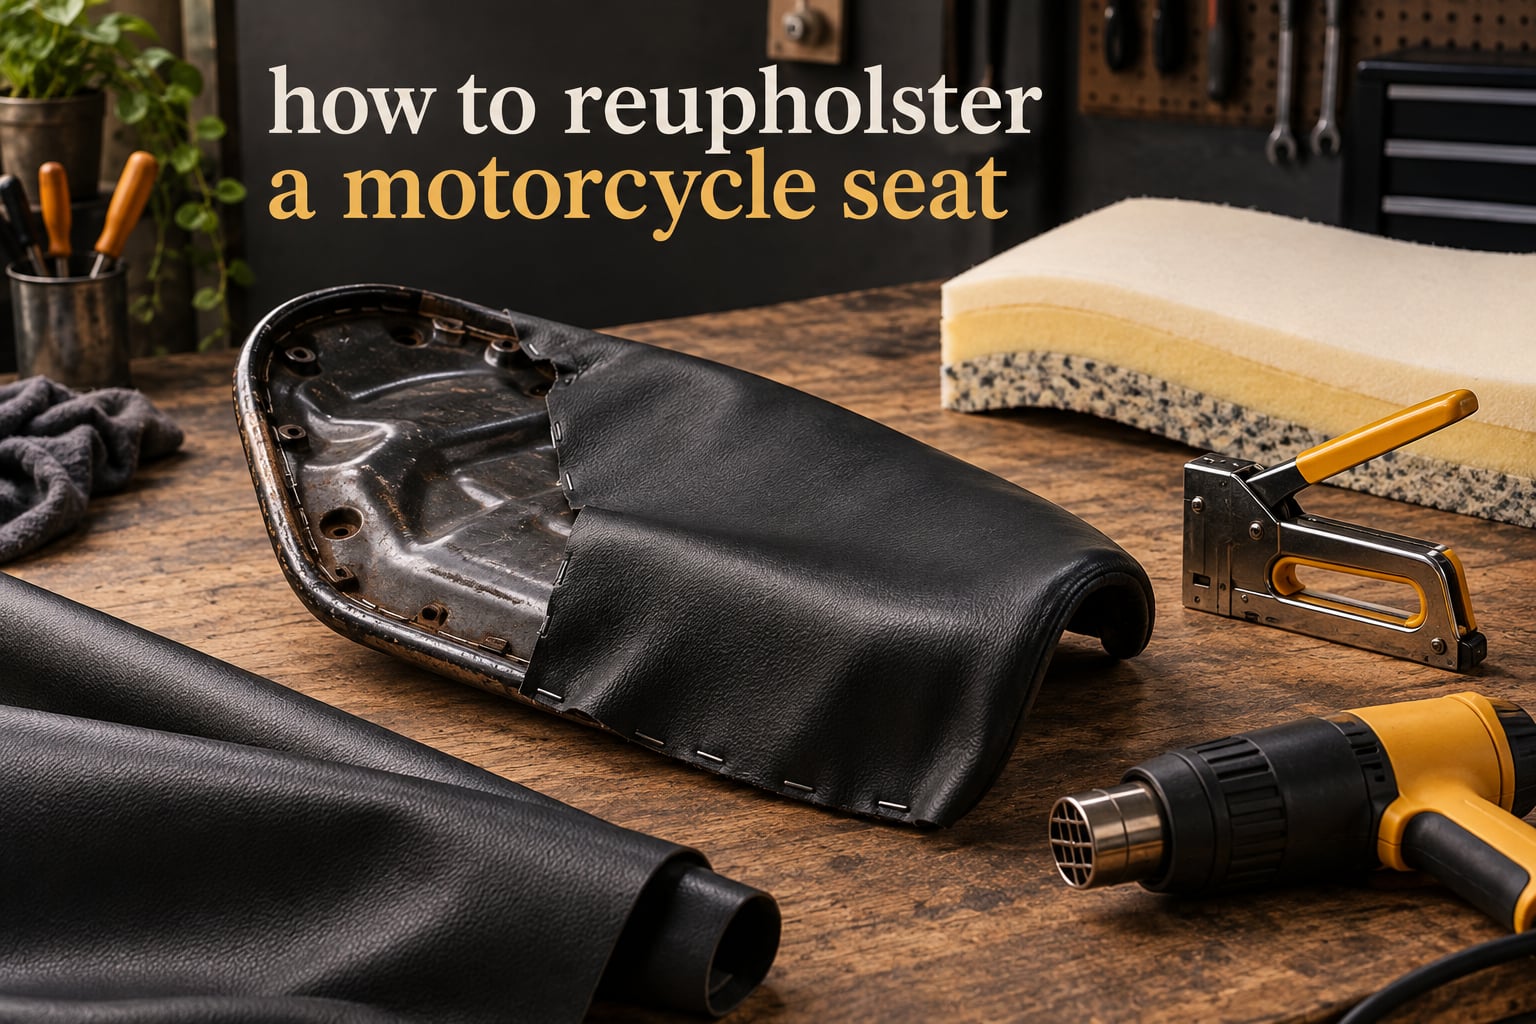
Yes, you can reupholster a motorcycle seat at home, and most riders do it in a single weekend with a staple gun, stretch marine vinyl, contact cement and a new sheet of foam. The seat is far simpler than it looks: a rigid pan holds glued foam, and a cover is stretched over the top and stapled to the pan lip. This guide walks through how to reupholster a motorcycle seat from the tools list to the first ride on it, including the decisions that decide whether the job is a 20-minute cover swap or a full rebuild.
It is worth doing. Foam cooks and stops recovering, vinyl cracks and fades, and a tired seat turns a 300-mile day into a grind. Refreshing the seat is also the cheapest way to change the colour of a bike to match fresh paintwork, and for vintage machines it can be the only way to keep original trim alive.
Throughout 2026 we have kept the process honest about the awkward bits: the parts that need more force than you expect, the places a job turns into a repair, and the two popular pieces of advice that are wrong for motorcycles. Updated for October 2026.
Table of Contents
- What You’ll Need: Tools and Materials
- Before You Start: Reupholster or Replace?
- How to Reupholster a Motorcycle Seat: Step by Step
- Choosing Your Cover Material: Vinyl vs Leather
- Choosing the Right Foam
- Common Mistakes and How to Avoid Them
- DIY vs Professional Reupholstery: What It Costs
- Frequently Asked Questions
- Can I reupholster a motorcycle seat at home?
- Is leather or vinyl better for motorcycle seats?
- How can I cover a motorcycle seat at home?
- What foam is used in motorcycle seats?
- What is the best material to reupholster a motorcycle seat?
- What size staples do I need for a motorcycle seat?
- Do I need to replace the foam as well as the cover?
- Conclusion: A Weekend Job Worth Doing
What You’ll Need: Tools and Materials
Eight items cover the whole job, and only two of them cost real money. The critical detail most guides skip is staple crown size: motorcycle pan lips are thin sheet metal, so 1/4 inch and 3/8 inch stainless staples are the correct sizes, not the heavy 1/2 inch staples used in furniture.
- Stretch marine vinyl — waterproof, abrasion resistant, and it stretches far enough to conform to a compound curve without splitting.
- Heavy-duty upholstery stapler — a pneumatic or electric stapler that drives 1/4 inch and 3/8 inch stainless steel staples. Skip a light-duty office stapler; it will bend before it drives the staple.
- Contact cement (neoprene) — sprayed or brushed onto both foam and pan, allowed to tack, then pressed together. This is the only glue you need for foam.
- Heat gun — for warming vinyl so it stretches around the nose and tail of the pan instead of creasing.
- Flat screwdriver or needle-nose pliers — the standard tool for prying out the old staples, plus a small flat file or Dremel to clean the staple holes.
- Spray adhesive and polyester batting — batting gives the cover a smooth surface over the foam and hides staple lines, spray adhesive holds it in place.
- Razor blade, snips or sharp scissors — for trimming the cover and slicing hardened glue.
- Safety gear and workspace — eye protection, gloves, a dust mask for sanding foam, and a ventilated area. Contact cement and spray adhesive are the two materials in this job you should not breathe in.
| Item | Specification | What it is for |
|---|---|---|
| Cover material | Stretch marine vinyl, 1 to 1.5 yards for a solo seat | The new outer skin |
| Staples | 1/4 inch and 3/8 inch stainless steel | Fixing cover and batting to the pan lip |
| Stapler | Heavy-duty pneumatic or electric upholstery stapler | Driving staples without crushing the pan |
| Base foam | High density firm foam, 25 to 40 mm | Structure and support layer |
| Top foam | Medium density or latex, 20 to 40 mm | Comfort layer over the base |
| Adhesive | Neoprene contact cement, spray adhesive | Bonding foam to pan, cover to batting |
| Batting | Thin polyester batting | Smooth surface, hides staples |
| Shaping tools | Bread knife, sanding block, Dremel | Carving foam to the rider |
Before You Start: Reupholster or Replace?
Reupholster when the pan is sound and the cover is the problem. A torn, faded or sunburnt cover over a solid pan is the ideal candidate, and it is also the cheapest job on the list. Riders restoring original trim hit this case constantly, and the guidance in the Britbike forum community is the same: strip it, clean the rust, keep the original hide and re-fit it.
Reupholster with new foam when the existing foam has cooked. Signs are a crumbly texture when you press it, a surface that stays compressed instead of pushing back, or a visible dip where your weight normally sits. If the seat has lost its shape and the original profile no longer supports you, foam work is part of the job, not an optional extra. One widely shared write-up from the late 2010s described exactly this: crumbly foam, no recovery, and a rider effectively sitting on the seat frame, fixed by carving a new profile rather than by a new cover alone.
Stop and take it to a professional when the pan itself is corroded through, when the seat is riveted rather than stapled and the rivets have seized, or when the cover is a rare original hide you cannot afford to experiment on. On HDForums a Sportster owner took a leather seat to a general furniture shop, and the shop refitted it with quality foam and gel pads using the existing leather, which confirms that furniture upholsterers will take the work. On riveted seats, riders on the v4musclebike forums drill out the rivet centres, lever out the remainder with a small screwdriver or putty knife, and fit new rivets afterwards. That is a trim job, not a weekend project.
How to Reupholster a Motorcycle Seat: Step by Step
Step 1: Remove the Seat from the Bike
Almost every seat comes off the same way: unbolt the hinge at the rear, release the front latch, and lift it away. Put a blanket down first, because the underside of a stripped seat pan is bare metal and the tail of the bike is exactly where you will drop it.
Work from the front. Release or unbolt the seat latch, then the rear hinge bolt or nut. On many machines the rear sets pass through a separate loop and must come off before the seat lifts, and on some the bolt points downward and is easier to reach with the seat tilted up.
Photograph the seat in place from the side and the rear before it comes off. That single photo tells you the correct ride height and nose angle when you put it back, and it costs nothing.
Step 2: Remove the Old Cover and Staples
The staples come out with a flat screwdriver, working from the centre of the pan outwards. Start in a corner where the cover is loosest, slide the blade under the crown, and lever it up in one movement. Pulling every staple in the same direction as you travel around the pan keeps the lip from bending.
Peel the cover back gradually rather than tearing it off in one go. Work a section, check the vinyl, work the next section. If the vinyl is going, stop and go around the other direction, removing staples on the approach as you lift.
Two things slow this stage down. Hardened glue is the first: a razor blade held flat will lift old contact cement without chewing the pan, and a Dremel with a sanding drum will clear stubborn residue without scoring the metal. The second is staples that have rusted through the pan lip. Those need the 3/8 inch driver and a firm, straight pull; if the lip flexes, brace the underside with a piece of wood.
Step 3: Strip the Old Foam and Clean the Seat Pan
Cut the old foam out with a serrated bread knife, working along the inside of the pan wall, and lever it up in panels. Foam that has cooked crumbles as you lift it, so wear a dust mask and expect a mess.
Clean the bare pan with a wire brush, a rotary tool with a flap wheel, and a degreaser. Then look for rust, because this is the moment riders discover it, and it is the single most common reason a simple reupholstery turns into a repair job.
Treat surface rust with a rust converter or a phosphoric-acid rust remover, let it work, then wipe it back to clean metal and protect the pan with paint, epoxy primer or self-etching primer. The paint goes on after the foam is cut and fitted, because you cannot easily paint a pan that has foam glued into it. Structural rust that has perforated the metal or eaten through the mounting tabs is the point to stop and hand the job to a trimmer.
Step 4: Cut, Glue and Shape the New Foam
Cut the base foam slightly larger than the pan interior, then trim it back in the workshop until it drops in with a light interference fit. Contact cement is unforgiving: glue it too generously and you have a permanent bond exactly where you wanted a trial fit.
Apply contact cement to both the pan and the foam, leave both surfaces until they are tacky to a dry touch, then press and work the foam into the pan by hand, pushing into the nose and tail sections first. Coating both surfaces is the rule. A single-sided coat bonds weakly and lets the foam peel away from the pan after a season of heat and vibration.
Shape the foam with a serrated bread knife for rough carving and a sanding block or orbital sander for refinement. Bevel the edges and roll the rear crown rather than leaving a flat plane, since a flat seat is the reason most riders are unhappy with a stock profile in the first place.
Glue a second, softer layer over the base once the base is shaped and trimmed. A 25 to 40 mm firm base with a 20 to 40 mm softer or latex top layer is the standard build, and layering lets you change the feel without rebuilding the whole seat. Riders on the Kawasaki Versys forums reshape by carving a channel roughly 6 to 8 inches in from the rear, which is a simple way to stop sliding forward on long rides.
Warning: do not use memory foam as the top layer. It is recommended constantly online and it is the wrong choice for a motorcycle. It is a closed-cell structure designed to trap air, it does not breathe, and it holds heat against your body through long summer rides. On a motorcycle, where airflow and cooling matter more than on a sofa, riders consistently report the same problem. Use open-cell or latex foam instead.
Step 5: Fit the Cover: Sewn or Tuck and Pull
There are two ways to fix a cover, and the no-sew method is far more common than most written guides admit. In a tuck and pull job, you stretch the vinyl over the pan, fold the excess under the lip, and staple through several layers at once. No seams, no sewing machine, and a result that looks factory-correct on a simple seat shape.
Tuck and pull works best on smooth, gently curved seats. It is harder on a sharply tapered tail where the vinyl has to concertine into a tight fold, and that is where sewing wins.
A sewn cover is the better choice for compound curves, thick foam profiles, and anything with piping or a contrast panel. The seam is sewn first, the cover is pulled over the foam, and the seam allowance is folded under and stapled on the underside of the pan lip where it is never seen. Sewing also lets you build a channel for the foam to sit in, which is how a professional trim shop gets a crisp edge instead of a soft rounded lump.
Whichever method you use, pull the grain the right way. Vinyl stretches far more easily along the grain than across it, and every wrinkle that appears across a seam is usually a cover pulled the wrong direction.
Step 6: Staple and Tension the Cover
Staple from the centre outwards in stages, pulling the cover snug as you go and re-checking as you pass the nose. A single pass from one end leaves the far side baggy and the near side stretched. Work in three or four passes and tension as you go.
Warm stubborn sections with the heat gun rather than fighting them. A few seconds of heat softens the vinyl and lets it stretch around a compound curve, and it is the difference between a clean fit and a split seam.
Keep the staple line consistent and just under the pan lip, then fit the batting over the top and staple it down to hide the line. Where the cover was folded under in a tuck and pull job, run a second row of staples through the fold so it cannot creep out after a few hundred miles of vibration.
Step 7: Reinstall the Seat and Break It In
Before the seat goes back on, check the underside: the foam should sit flat with no visible gaps, the cover should have no tension ripples, and every staple should be fully seated. Trim any foam edge that has crept past the lip.
Refit the seat in the reverse order you removed it and tighten the hinge bolt to the manufacturer’s specification. Over-tightening crushes the rear of the pan, which is exactly where the cover and the frame meet, and it is the most common cause of a cover splitting a few months after the job.
Take a short ride, then recheck the staples after 50 to 100 miles. Foam needs roughly 200 to 300 miles to settle into its riding position, and foam that shifts while the cover is loose will wrinkle the cover. A second round of staples and trimming after the break-in period resolves almost every complaint about a seat feeling loose or lumpy.
Choosing Your Cover Material: Vinyl vs Leather
Marine vinyl wins for almost every rider. It is waterproof, easy to wipe clean, resists UV and abrasion, comes in dozens of colours and grains, and it stretches enough to fit a compound curve without a seam. Genuine leather feels better and looks better on a restored classic, but it needs more upkeep, needs climate control, and does not stretch, so it usually has to be sewn.
| Factor | Marine vinyl | Genuine leather |
|---|---|---|
| Rain and weather | Waterproof, wipe clean | Absorbs water, needs conditioning |
| Sun and UV | Resists fading | Dries out, cracks and fades |
| Maintenance | Wipe with a damp cloth | Condition every few months |
| Stretch | Stretches, suits tuck and pull | Minimal stretch, must be sewn |
| Fit method | Tuck and pull or sewn | Almost always sewn |
| Best for | Everyday bikes, touring, wet climates | Restored classics, show bikes |
Verdict: marine vinyl for riding, leather for restoration. On XJBikes the recurring point is that the seat form is the hard part of a custom job, not the covering, and the same applies here: choose the material second and get the foam profile right first.
Choosing the Right Foam
Layered high-density base foam with a softer top layer is the standard motorcycle seat build, and it is what separates a seat that works from one that cooks. Match the total thickness to what came out, then adjust for comfort.
| Foam type | Thickness | Best for | Notes |
|---|---|---|---|
| High density base foam | 25 to 40 mm | Structural support | Holds shape, resists cooking |
| Medium density top foam | 20 to 40 mm | Everyday comfort | Standard builder’s choice |
| Latex foam | 20 to 40 mm | Soft top layer | Springs back well, good comfort |
| Open cell foam | 10 to 20 mm | Overlay on a firm base | Breathes, avoids trapped heat |
| Memory foam | Not recommended | Not for motorcycle seats | Holds heat against the rider |
Buy the densest foam you can find. Riders on motorcycle forums consistently identify poor density in cheap replacement seats as the reason foam crumbles and stops recovering, and the same low-density foam is what many budget reupholstery kits ship with.
Common Mistakes and How to Avoid Them
Most ruined seat jobs come down to a short list of avoidable errors, and every one of them is cheap to prevent.
- Pulling the cover too tight in one pass. Tension in stages from the centre outwards, or the far side ends up baggy and the near side splits.
- Using 1/2 inch furniture staples. They are too long for a pan lip and will punch through the opposite side.
- One-sided glue application. Contact cement goes on both surfaces, or the foam peels away from the pan after a season of heat.
- Glueing before fitting. Do trial fits dry, then bond. Contact cement is effectively permanent.
- Skipping the pan rust check. Always inspect the bare pan before fitting new foam, and paint it before the foam goes in.
- Using memory foam. It traps heat and is the wrong material for a motorcycle seat.
- Over-tightening the seat hinge bolt. It crushes the pan and the cover tears near the frame later.
- Forgetting the break-in recheck. Re-staple and trim after the first 50 to 100 miles.
Riders also report hardened old glue as a leading frustration. Take the extra ten minutes with a razor blade and a rotary sanding drum while the pan is bare, rather than discovering it later.
DIY vs Professional Reupholstery: What It Costs
DIY is by far the cheapest route, and reupholstery is usually cheaper than a replacement seat. Exact figures vary by region and shop, and most trimmers will not quote over the phone, which is why the question comes up so often on forums. The relative ranking, however, is consistent.
| Route | What it covers | Relative cost | Skill needed |
|---|---|---|---|
| DIY, cover only | Vinyl, staples, cement, batting | Lowest | Simple, a few hours |
| DIY, with new foam | Adds base and top foam and shaping | Low | Moderate, a full weekend |
| Specialist motorcycle trimmer | Full strip, foam, cover, reinstallation | Moderate | None |
| General furniture upholsterer | Foam and cover, may reuse the original hide | Moderate to high | None |
| New replacement seat | New pan, foam and cover | Highest | None |
On the r/motorcycles side of the argument the consensus is consistent: reupholstering is cheaper than buying new. The one variable that changes that answer is the condition of the cover. A cover-only job is a small outlay; a full strip, foam rebuild and shaped profile is a different job, and getting a quote first is worth the phone call.
Frequently Asked Questions
Can I reupholster a motorcycle seat at home?
Yes. A motorcycle seat is a rigid pan with glued foam and a stapled cover, so a staple gun, stretch marine vinyl, contact cement and a sheet of foam are enough to do the whole job. Most riders finish a cover swap in an afternoon and a full strip-and-rebuild in a weekend. The only jobs worth handing over are a perforated or rusted-through pan, a riveted seat with seized rivets, and a rare original hide you cannot risk.
Is leather or vinyl better for motorcycle seats?
Marine vinyl is better for riding: it is waterproof, easy to wipe clean, resists UV and abrasion, comes in many colours and stretches enough to fit without splitting. Genuine leather feels and looks better and suits restored classics, but it needs conditioning, does not stretch, and usually has to be sewn. Choose vinyl for everyday riding and touring, leather for a restoration.
How can I cover a motorcycle seat at home?
Stretch the cover over the foam and staple it to the pan lip, working from the centre outwards in stages so tension is even. The no-sew tuck and pull method folds the excess under the lip and staples through several layers at once, which works well on gently curved seats. For compound curves, thick profiles or piping, sew a seam first and staple the seam allowance underneath the pan lip.
What foam is used in motorcycle seats?
Most motorcycle seats use a layered build: a firm high density base foam of 25 to 40 mm for structure, and a softer top layer of medium density or latex of 20 to 40 mm for comfort. A thin open cell overlay can be added on top. Memory foam is not recommended because it holds heat against the rider on a motorcycle.
What is the best material to reupholster a motorcycle seat?
Stretch marine vinyl is the best material for almost every motorcycle seat. It is waterproof, abrasion resistant, UV stable, easy to clean, and it stretches enough to conform to a compound curve without splitting. Genuine leather is the alternative for vintage restorations, and it trades weather resistance and low maintenance for feel and appearance.
What size staples do I need for a motorcycle seat?
Use 1/4 inch and 3/8 inch stainless steel staples driven with a heavy-duty upholstery stapler. Pan lips are thin sheet metal, so heavier 1/2 inch furniture staples are too long and can punch through the opposite side. Stainless resists rust, and the shorter crown spreads the load without splitting the vinyl.
Do I need to replace the foam as well as the cover?
Only if the foam is cooked. Press it firmly: if it crumbles, stays compressed, or has a dip where you normally sit, it has lost its cell structure and needs replacing. If the foam still pushes back and the cover is the only problem, a cover-only job is enough and much cheaper. Reusing sound original foam is common on restorations.
Conclusion: A Weekend Job Worth Doing
To reupholster a motorcycle seat you need a stapler, 1/4 inch and 3/8 inch stainless staples, stretch marine vinyl, contact cement, batting, a heat gun and layered foam, and then roughly ten steps: remove the seat, pull the staples, strip the foam, clean and treat the pan, cut and glue the base, shape it, fit the cover, staple from the centre outwards, refit, and recheck after the break-in.
Check the pan for rust before you commit, glue contact cement to both surfaces, and keep memory foam out of it. If the job needs rivets, a shaped custom form, or a hide you cannot replace, that is the moment to bring in a specialist trimmer, and we are happy to talk through the details.