
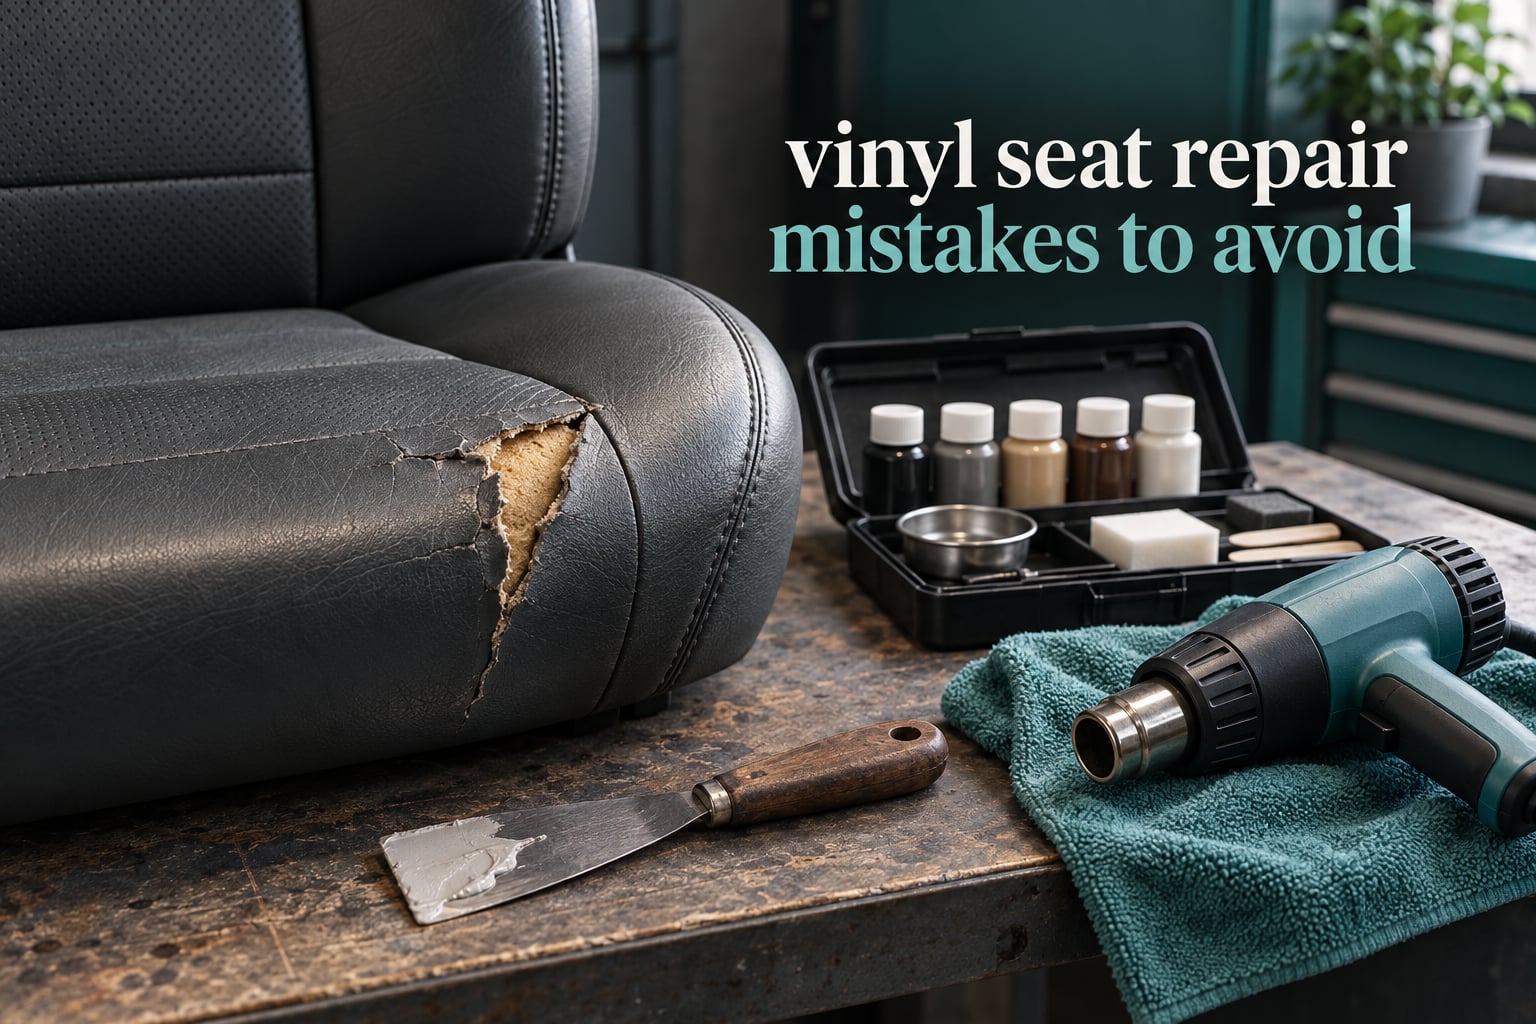
Most failed vinyl seat repairs come down to four root causes: skipping the deep clean before starting, using the wrong adhesive such as super glue or general fabric tape, applying too much filler or color compound in one pass, and applying too much heat. All four are avoidable before the vinyl repair kit is even open.
We have watched enough good seats get ruined by good-intentioned repairs to know how this goes. Someone pulls a torn bucket seat apart on a Saturday morning, works a patch together in an hour, and three weeks later the patch is peeling, the color is off, and the original tear looks better than the repair. Nobody set out to fail. The job just skipped the boring parts.
That is what this guide is for. Rather than walking through a repair in order, we are going through the specific errors that turn a sound vinyl car seat repair into a visible, short-lived mess, why each one fails, and what to do instead. Most of it is preparation, and most of it is free.
Our shop works on vinyl car seat repair, marine seating, and vintage interiors, so the patterns here come from seats that came through the door after a failed attempt as much as from clean jobs. If you have a torn, cracked, punctured, or peeling seat in front of you, this is the order we would read it in.
Table of Contents
- Pre-Repair Checklist: Do These Before You Open the Kit
- Triage Your Damage First: What You See vs What Is Actually Wrong
- The 12 Vinyl Seat Repair Mistakes to Avoid
- 1. Skipping the deep clean before repairing
- 2. Using bleach or all-purpose household cleaner to clean first
- 3. Using super glue, epoxy, or general fabric tape as the repair
- 4. Applying way too much filler or color compound in one pass
- 5. Going too hot with the heat gun or iron
- 6. Repairing a large tear from the face only, with no backing support
- 7. Skipping the graining and texture transfer
- 8. Mixing color under a garage bulb or a warm work lamp
- 9. Patching over a wet, soft, or degraded foam cushion
- 10. Restitching a split seam with ordinary sewing thread
- 11. Working in the wrong conditions or in a parked hot vehicle
- 12. Trimming healthy vinyl to make the damage look neater
- Tools and Supplies: What to Use and What to Leave in the Drawer
- Quick Troubleshooting: Symptom, Cause, and Fix
- When to Stop and Call a Professional
- How to Fix a Repair That Already Went Wrong
- Frequently Asked Questions
- Conclusion: Prep and Patience Are the Whole Job
Pre-Repair Checklist: Do These Before You Open the Kit
This list takes about ten minutes and it decides whether the rest of the day goes well. Work down it in order rather than jumping straight to the color bottle.
- Pull the seat out of the vehicle if you can, or at least get the vehicle into shade with the engine off. Metal in a parked car gets hot fast.
- Check the work area temperature. Between 60 and 80F (15-27C) is the window where compound behaves predictably.
- Look underneath the tear. Wet foam, soft foam, or a rotten backing changes the job from cosmetic to structural.
- Press and flex the damaged area with your thumb. If the vinyl flakes, powders, or splits at the edge, it is brittle and will not hold a repair.
- Decide your exit before you start. If the damage is larger than a coin, has no stable edge, or sits on a seat that gets daily use, know who you will call.
- Have a vinyl-specific, pH-balanced cleaner and isopropyl alcohol on hand. Not household spray.
- Lay out your tools before you start so you are not stopping halfway with compound on your hands.
- Mix your color in natural daylight, never under a garage bulb or a warm work lamp.
- Keep a scrap of the seat hidden somewhere for a test dab that nobody will see.
- Plan for full cure time. Most filler and color compound wants several hours before it is handled or sat on.
Triage Your Damage First: What You See vs What Is Actually Wrong
Before picking a method, match the symptom to the real problem. Repairing the surface when the cause is underneath is the most expensive mistake in the list, because it guarantees a second trip.
| What you see | What is usually really wrong | Honest verdict |
|---|---|---|
| Small puncture, cigarette burn, or scuff with a clean edge | Surface damage only, substrate intact | DIY fix: liquid vinyl filler, thin layers, heat cure, grain transfer |
| Short tear under an inch, edges still firm | Cosmetic tear, no structural loss | DIY fix with a small backing patch and contact adhesive |
| Tear larger than a coin or on a curved bolster | No backing support, edges will lift under load | DIY only with a sub-patch; back-stitching recommended |
| Split seam along a stitched edge | Seam tape or thread failed, vinyl may still be sound | DIY if vinyl is flexible; restitch through the original holes |
| Network of fine cracks or flaking surface | Plasticizer loss, UV and heat damage | Marginal. Conditioning helps cosmetically, but expect it to look different |
| Vinyl that crumbles or powdery at the tear edge | Material is brittle, no bond is possible | Do not repair. Replace the skin or the seat |
| Soft, wet, or collapsed cushion under the damage | Foam degradation or water intrusion | Pull the cushion, rebuild the foam, then repair the skin |
| Damage on both the seat top and the back, same pattern | Heat or UV exposure, not an accident | Repair is cosmetic. Add a UV protectant and slow the decline |
The 12 Vinyl Seat Repair Mistakes to Avoid
Each of these is something we have seen go wrong on a real seat, and each one has a specific mechanism that causes the failure. Read the symptom first, then the reason, then the correction.
1. Skipping the deep clean before repairing
What it looks like: The repair peels away in one clean sheet two or three weeks later, usually starting at a corner.
Why it fails: Sunscreen, body oil, salt, road dust, and years of old protectant leave a film on the surface that adhesive and filler simply cannot grab. The bond forms against the film instead of the vinyl, and the whole repair releases as a unit. Marine forum users reach the same conclusion on their own seats: the biggest single determinant of whether a repair lasts is how thoroughly the surface was cleaned first.
How to fix it: Work a pH-balanced vinyl cleaner into the grain with a soft detail brush, let it dwell, then wipe with a clean microfiber cloth. Finish with an isopropyl alcohol wipe, let the area dry completely, and keep your hands off it from that point on.
2. Using bleach or all-purpose household cleaner to clean first
What it looks like: The vinyl looks clean, then looks noticeably duller, drier, and more cracked a week later than it did before you started.
Why it fails: Harsh household cleaners strip the plasticizers that keep vinyl supple. You have not cleaned the surface, you have removed the material’s flexibility, and the repair goes on top of vinyl that is now more brittle than when you found it.
How to fix it: Use a vinyl-specific, pH-balanced cleaner and nothing else on the repair area. If the vinyl was already cleaned with the wrong product, give it weeks of vinyl conditioner before you judge whether it recovered.
3. Using super glue, epoxy, or general fabric tape as the repair
What it looks like: A yellowed, hard scar across the seat, or a fabric patch whose corners lift within weeks.
Why it fails: Cyanoacrylate leaches into vinyl and embrittles it, then cures to a hard, inflexible spot that turns yellow and never comes out. Epoxy is worse, because the rigid bond flexes against soft vinyl until one of them tears. Fabric tape, duct tape, and ordinary carpet tape have no structural strength for a surface that gets sat on, and their corners act as peel tabs. This confusion comes up constantly in upholstery forums, where people reach for household products because vinyl-specific ones are not obviously marketed to them.
How to fix it: Use a vinyl-specific contact adhesive for bonding patches, or the adhesive supplied with your vinyl repair kit. Use flexible vinyl filler or color compound for surface work, never rigid chemistry. If super glue is already on the seat, the yellow stain and the hardened area are usually permanent, which is the honest answer for a car interior.
4. Applying way too much filler or color compound in one pass
What it looks like: A raised, lumpy, glossy blob that reads as a patch from a few feet away.
Why it fails: Compound shrinks as it cures, so a heavy application sets as a dome sitting proud of the surrounding surface. Over-applied filler was the most common complaint in a well-known automotive vinyl walkthrough, where the repair ended up shiny and slightly off-tone and had to be knocked back with an abrasive pad.
How to fix it: Fill barely above the damage, level it with a palette knife, and let it cure. Add the next thin layer, cure again, and repeat. A r/Detailing repairer cured a full seat repair in about 30 minutes using roughly 5 to 8 seconds of heat per thin layer, which is the pace we would aim for.
5. Going too hot with the heat gun or iron
What it looks like: A glossed, scorched, or melted surface, and sometimes damage to the seat next to the one you were repairing.
Why it fails: Vinyl softens and flows quickly, and a hot tool or a stationary heat gun will weld, blister, or spit a heated component off the surface. One poster on themalibucrew.com documented a part blowing off under heat, flying across the cabin, and leaving a gash in the adjacent seat. A separate how-to author heated a pick tool to open perforations and melted them out of pattern, forcing a full redo.
How to fix it: Hold the heat gun 4 to 6 inches from the surface, keep it moving, and give it 30 to 45 seconds per pass. A hair dryer gives gentler, more controllable heat than a heat gun and is our default for curved bolsters. A heated spoon is the professional alternative: it contacts the compound only where you place it, which is why shops use it to cut cure time from hours to minutes.
6. Repairing a large tear from the face only, with no backing support
What it looks like: The tear looks perfect, then reopens the first time somebody sits down.
Why it fails: Nothing is holding the edges. You have glued two loose flaps together and dressed them up, so any load from underneath pulls the repair apart from the start.
How to fix it: Cut a backing fabric or sub-patch from canvas or repair cloth, at least an inch larger than the tear on every side, glue it in with contact adhesive from underneath, and only then do cosmetic work on the face. Round the patch corners so nothing catches and lifts, and back-stitch the perimeter with a curved upholstery needle if the tear sits on a bolster or a seam.
7. Skipping the graining and texture transfer
What it looks like: A repair with the right color and the wrong surface, reading as a smooth island on textured vinyl.
Why it fails: Color is the only thing most people check. Texture is what sells the repair, and a glossy smooth patch on a matte grained seat is obvious even in shadow.
How to fix it: While the compound is still semi-cured, press a grain sheet or graining paper into it with a clean spoon, hold for 30 to 45 seconds, work in small circles for about two minutes, then let it cool several minutes before lifting. Textured pads handle the last bit of blending.
8. Mixing color under a garage bulb or a warm work lamp
What it looks like: A repair that looked right under the lamp and is obviously too dark or too warm in daylight.
Why it fails: You cannot judge a color match under the wrong light temperature. Compounding that, fresh compound dries darker than the wet mix, so a match judged too early is a match that ends up off.
How to fix it: Mix in natural daylight, dab a test on a hidden area of the seat, and let it fully cure before judging. Expect it to darken slightly as it dries, and mix in small batches so you are not trying to hit the same shade twice.
9. Patching over a wet, soft, or degraded foam cushion
What it looks like: A repair that looks fine in the driveway and starts sinking or tearing from underneath within weeks.
Why it fails: Moisture and rot keep working under the repair, and the filler loses its support from below. In one automotive walkthrough, the foam under a torn seat was found already degraded and had to be bulked up with trunk carpet before the vinyl work could start.
How to fix it: Pull the cushion, dry it out completely, and replace or rebuild the foam before repairing the skin. If the foam cannot be saved, this is a cushion replacement job, not a vinyl repair job.
10. Restitching a split seam with ordinary sewing thread
What it looks like: A seam that looks repaired in the garage and has reopened by the end of the season.
Why it fails: Common dressmaking cotton thread rots and breaks down under UV exposure within a single season. A seam on a seat is also a load line, so it takes flexing that cotton was never meant for.
How to fix it: Use marine-grade UV-resistant polyester or nylon thread and a curved upholstery needle, and run a lock stitch through the original holes rather than guessing new ones. If the original holes are torn, stitch a line just to one side instead.
11. Working in the wrong conditions or in a parked hot vehicle
What it looks like: Compound that cures too fast, cracks within days, or stays tacky and never hardens.
Why it fails: Above roughly 80F (27C), the compound skins over before you can level it and cures into a crack. Below roughly 60F (15C) it may never cure at all and stays soft. A closed vehicle in direct sun hits the top of that range in minutes, and it is a trap specific to car work that marine guides never have to mention.
How to fix it: Work in shade, outdoors or in a ventilated space, with the vehicle cool and humidity low. If the compound will not hold a fingerprint impression after a normal cure pass, the room is wrong, not the product.
12. Trimming healthy vinyl to make the damage look neater
What it looks like: A repair line that runs longer and cleaner than the original tear, and is still clearly a repair.
Why it fails: You removed good material to create a straight edge, which enlarges the repair and guarantees a visible seam no matter how well the rest of the work goes.
How to fix it: Trim only what is already loose, frayed, or lifted. Leave stable vinyl alone, even if the remaining shape is not tidy. Keeping compound off the visible face matters too: a r/upholstery user smeared repair compound across the black seam stitching on a custom armrest and permanently obscured it, which is the whole repair announcing itself from across the cabin.
Tools and Supplies: What to Use and What to Leave in the Drawer
A short supply list keeps the repair consistent. The column that matters most is the last one, because the wrong tool is usually what caused the problem in the first place.
| Tool or product | What it is for | Common error to avoid |
|---|---|---|
| Vinyl-specific, pH-balanced cleaner | First-pass clean before any repair material | Do not substitute bleach or all-purpose spray |
| Isopropyl alcohol | Final de-grease wipe right before adhesive | Do not skip it and do not wipe it back over with a dirty cloth |
| Detail brush with soft bristles | Working cleaner into the grain | Do not use a stiff brush, which scuffs the surrounding vinyl |
| Vinyl-specific contact adhesive | Bonding backing fabric and physical patches | Do not use super glue, epoxy, or fabric tape |
| Backing fabric or sub-patch | Structural support behind a tear | Do not size the patch to the tear instead of larger than it |
| Flexible vinyl filler | Building level in the damage, thin layers | Do not use rigid body filler, which cracks as the seat flexes |
| Color compound and master bases | Matching faded vinyl color | Do not judge the mix wet, under artificial light, or in bulk |
| Heat gun or hair dryer | Curing filler and color compound | Do not park the gun on the vinyl or hold it closer than 4 inches |
| Heated spoon or spatula | Controlled contact curing on curves and bolsters | Do not use a hot pick tool to open perforations; it melts them |
| Palette knife or body filler spreader | Leveling each thin layer | Do not use a folded paper towel, which leaves texture ridges |
| Grain sheet or graining paper | Texture transfer into semi-cured compound | Do not lift it while the compound is still hot and soft |
| Marine-grade UV-resistant thread, curved upholstery needle | Split seam restitching | Do not use ordinary sewing thread |
| Vinyl protectant or conditioner | Slowing UV damage on the finished repair | Do not apply it over compound that has not fully cured |
| Super glue, epoxy, fabric tape, duct tape | Nothing | Do not use these on vinyl seat upholstery under any circumstances |
Quick Troubleshooting: Symptom, Cause, and Fix
Use this table when a repair has already gone wrong. The single most important rule: if compound is peeling, do not change products, change the prep.
| Symptom | Root cause | Correction |
|---|---|---|
| Patch peels off within weeks | Surface was never properly degreased | Strip the failed material, clean with a pH-balanced cleaner, finish with isopropyl alcohol, re-bond with contact adhesive |
| Repair lifts at the corners first | Patch corners are square, or the edges were not tucked | Re-cut with rounded corners and press the perimeter down into the adhesive |
| Repair is raised and lumpy | Too much compound in one pass | Sand the dome back level, then build up with thin cured layers |
| Repair is glossy on matte vinyl | Skipped graining or over-sanded the surface | Re-grain with a grain sheet, then knock the sheen back gently with a fine abrasive pad |
| Perforations are the wrong shape or missing | Heat used to open holes melted the pattern | Do not reheat. Cover the area with a correctly matched patch, or replace the skin |
| Color is too light or too dark | Mixed under the wrong light, or judged before drying | Remove the compound fully, remix in daylight, and test on a hidden cured dab first |
| Surface is shiny or scorched | Heat was too high or held too long | Soften with light heat and re-grain; a deep melt means re-skinning that panel |
| Seam reopened | Cotton thread used, or new holes instead of the original ones | Remove the failed thread, stitch with UV-resistant thread through the original holes |
| Compound is still tacky days later | Room too cold, or it never got enough heat | Move to a warm, dry space above 60F (15C) and re-cure with a moving heat source |
| Compound cracked a week after application | Worked in a hot vehicle, or cured too fast | Remove it, work in shade below 80F (27C), and apply thinner layers |
| Repair sinking into the cushion | Foam underneath is degraded or wet | Remove the cushion, dry it, rebuild the foam, then redo the skin |
| A yellow hard scar on the vinyl | Super glue or epoxy was used | Usually permanent. Cover it with a matched patch rather than trying to sand it out |
When to Stop and Call a Professional
Some damage is not a DIY job, and knowing which is which saves more time than any technique in this guide. A professional upholstery shop charges several times what a vinyl repair kit does, so the question is whether the seat is worth that comparison.
Stop and hand it off when the vinyl is brittle and flaking at the tear edge, because there is no substrate left to bond to. Stop when the foam underneath is wet, rotten, or has collapsed into crumbly debris, since the repair will fail from below no matter how good the surface work is. Stop when the damage covers a large panel, a full bolster, or more than one seat, which is a re-skin or replacement rather than a repair.
Also stop when the seat is going back into a car you care about and the failure would be visible from the door. On a r/Mid_Century thread, an owner looking at a ripping vinyl chair concluded the cause was the vinyl drying out and that any repair would be visible and temporary. That is often the accurate read, and it is better to budget for replacement than to redo a bad repair twice.
One more case worth flagging: heavily perforated or deeply patterned vinyl, especially on a curved bolster. Matching hole pattern, grain direction, and stitch lines takes practice that a first attempt rarely has. If the seat is a matching set, a lone mismatched panel usually looks worse than a clean replacement.
How to Fix a Repair That Already Went Wrong
If you have already made a mistake, the goal changes from finishing the job to minimizing the damage, and the order matters.
Over-applied filler or color compound: Let it cure fully, sand it back level with fine abrasive paper, then build the color back up in thin cured layers. A repair that is slightly proud can usually be saved this way.
Wrong color: There is no blending fix on textured vinyl. Remove the compound back to clean surface, degrease, remix in daylight, and test on a hidden cured spot before touching the repair area.
Melted or scorched surface: Lightly re-soften with a hair dryer at a distance and re-grain the surface. Where the vinyl has genuinely flowed or welded, the panel is done, and a matched patch or a full skin replacement is the honest repair.
Compound smeared into stitching or perforations: This is usually permanent because the stitching is dyed or painted. Cover it with a matched patch rather than attacking it with solvents that could take the surrounding vinyl with it.
Compound over an area you still need to flex: Cut it out rather than building over it. A flexible repair underneath is worth more than a solid-looking surface that tears the vinyl around its edges.
Frequently Asked Questions
Can vinyl seats be repaired?
Yes, most vinyl seats can be repaired, as long as the material is still flexible. Punctures, short tears, scuffs, burn marks, and split seams are all realistic DIY jobs with a vinyl repair kit. If the vinyl crumbles, flakes, or powders at the damaged edge, the plasticizers are gone and no adhesive will hold. Wet or collapsed foam underneath also has to be dealt with before the surface repair will last.
What type of glue is best for repairing vinyl seats?
A vinyl-specific contact adhesive is the right choice for bonding backing fabric and physical patches, and the flexible filler or color compound supplied with a vinyl repair kit handles surface work. Stay away from super glue, epoxy, general fabric tape, and duct tape. Cyanoacrylate leaches into vinyl and leaves a hard yellow scar, and rigid or woven adhesives peel off the corners under load.
Can cracked vinyl be repaired?
Hairline and moderate surface cracking can often be improved, not erased. Clean the vinyl, treat it with a vinyl conditioner to slow further cracking, then fill the cracks with flexible vinyl filler in thin cured layers and re-grain the surface. Expect the repair to read differently from the surrounding vinyl under bright light. Cracking that has become flaking or powdery is too far gone to repair.
What is the best tape to repair vinyl seats?
There is no ordinary tape that works as a final repair on vinyl seat upholstery. Fabric tape and duct tape have no structural strength for a surface that is sat on, and their corners lift first. If you want a patch that behaves like vinyl, use vinyl repair tape from a vinyl-specific kit or apply your own backing fabric and a contact adhesive, then finish the face with filler and color compound.
How much does it cost to repair a ripped vinyl car seat cover?
It depends on the damage and the vehicle, so get a written quote from an upholstery shop before committing. Small punctures and short tears are the cheapest work, while a full bolster re-skin, a cushion replacement, or a complete seat rebuild runs considerably more, and a matching set costs more than a single seat. A dealer-sourced seat is often the most expensive route of all, so a local upholstery shop is usually the first call.
How long do vinyl seats last?
It depends far more on heat and UV exposure than on mileage. Seats in a hot, sunny climate lose their plasticizers and start cracking years before seats in a temperate one, and parked-car interiors are the worst case. A vinyl protectant applied regularly, keeping the vehicle shaded when parked, and cleaning with a pH-balanced product all slow the decline. A well-prepped repair can hold for years; a badly prepped one can fail in weeks.
Conclusion: Prep and Patience Are the Whole Job
Almost every failed vinyl seat repair we have taken apart came back to preparation. The seat was not degreased, the adhesive was household, the filler went on thick, or the heat gun sat too close for too long. Fix those four things and the rest of the job is technique you can learn in an afternoon.
So before you pick up a color bottle, work the pre-repair checklist, clean the surface properly, and check what is happening underneath the tear. That is how you avoid the most common vinyl seat repair mistakes to avoid, and it is why some repairs last years while others fail before the end of the month.